JewelCAD / CAM : 3D Jewelery Desgining/Manufacturing Software
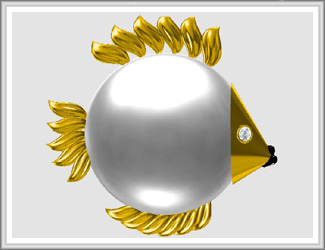
JewelCAD/CAM is the most popular 3D Jewelery Designing Software, designed specifically for the Jewellery Industry, with a non technical interface which Jewellers, designers and modelmakers, find easy to learn and use. JewelCad is already improving business in retail shops by enabling client participation in designing their own one off commissions.
Advantage of JewelCAD over any other 3D Jewelry Software (Rhino's, Matirx, Idea's)
*
JewelCAD is 100% GUI (Graphic user interface) compared to the other 3D CAD/ CAM softwares which are command driven. The user has to remember the commands in order to create a drawing.
For example if you want to draw a circle, 17.5MM in JewelCAD, we simply click on the circle tool and give the dimension. Where as in any other CAD/CAM software we would need to know the command for circle ( circle, followed by the dimension)
*
Only basic knowledge in computers will be sufficient to master the software in several weeks.
Even if a student does not know much about Jewelery Designing, they can study JewelCAD, easily. The easy to use option's n the software make it possible for any user to get used to the software.
The technical details about designing jewellery which a student needs to know is covered in detail during the course
*
Non engineering approach: Students do not need to have an engineering knowledge to study this course compared to Rhino's, Ideas & Matrix
*
Very simple graphic user interface and intuitive functions.
To see the topics covered in 3D Jewelry Designing (JewelCAD/CAM) please visit:
Bandra (W): 1st Floor. O'Priya Building, Peter Dias Road, Near Mehboob Studio , Bandra (West) Mumbai - 400 050, India +91 - 26551794 / +91 9322755916
Andheri (W): Office No R- 26, 1st Floor, RNA Complex Lokhandwala, 3rd Cross Lane, Next to High Point Restaurant, Andheri (West) Mumbai - 400 053, India : +91 9820494017